How to install WordPress 3.3 on ubuntu 11.10
March 20, 2012 in CMS
How to install WordPress 3.3 on Ubuntu Part 3:
PhpMyAdmin
In this step we will install PhpMyAdmin(more info can be found here). This is not a mandatory step and you can skip it if you know how to use MySQL commands but it will make life easier so I strongly recommend to proceed.
In order to install PhpMyAdmin you have to install first Mysql, PHP and Apache (so you have to complete Step1 first).
Open your terminal and type the following:
$>sudo apt-get install phpmyadmin
A screen like the following will appear and now you have to choose the web server that should be automatically configured to run PhpMyAdmin(you can navigate by using the “arrow keys” and you can select by using the “spacebar key”). It is recommended to use the apache server.

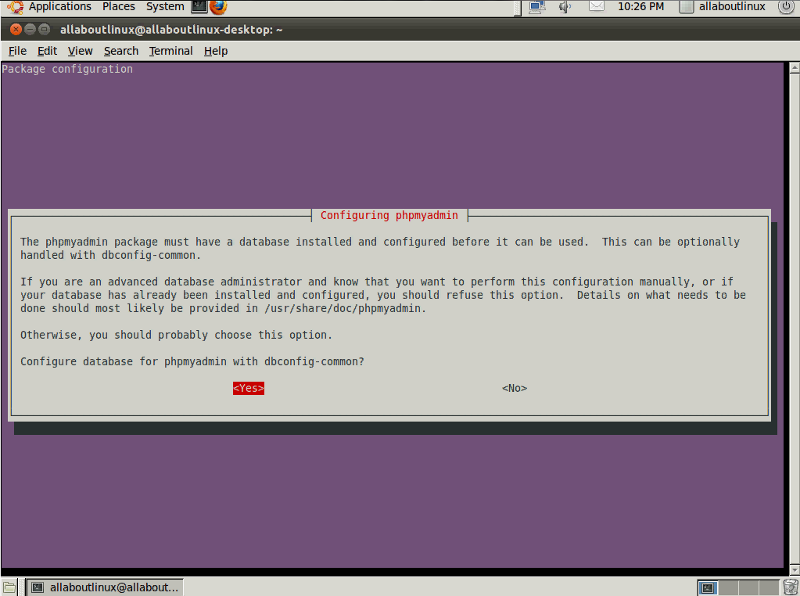
After that the a screen like the following will ask if you want to let the installation configure the database for PhpMyAdmin for you. It is recomended to click “YES” on that.
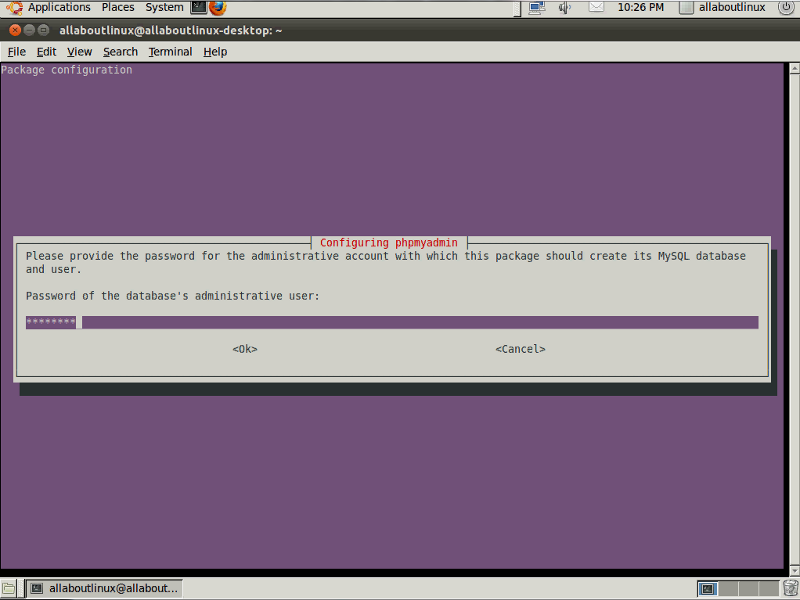
Then you have to type the MySQL root password so the PhpMyAdmin can access the MySQL.
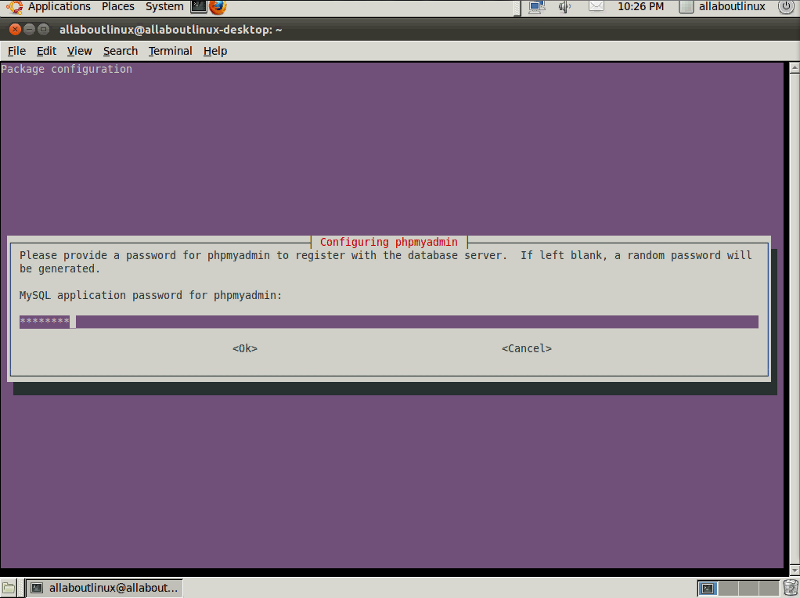
And for the final step you have to enter a password for the PhpMyAdmin and retype it when the confirmation screen appears.
Congratulation the PhpMyAdmin is now installed into your system and you can access it by pointing your web browser at http://localhost/phpmyadmin/
For user name use “root” and for password use the one you have chosen.


Thanks for the Tutorial and all the help you have given me in setting my site up.
Kevin
This was straight forward and helpful. Thanks for providing such a clear guide!
I used to be able to find good information from your blog posts.
tanks bro..
this posting is best help
Thank you so much! This was (is!) awesome!!! I (as a beginner!) would not have been able to install wordpress on my computer without your help! With your help it turned out to be easy!
Simple but very precise information… Thank you for sharing this one.
A must read article!
Hi there, I wish for to subscribe for this website to obtain most up-to-date updates, so where can i do it
please help out.
Hello Robert,
Please find RSS feed on the right side bar of this website or you can add in your rss feed software the link: http://www.allaboutlinux.eu/feed.
plus you also subscribe to Facebook or to youtube.
Cheers
Allaboutlinux.eu